Everything you need to start washing your car at home, Part 1
One of the questions I’m asked most frequently is “How do I wash my car at home correctly?”. The answer is both simple and complex at the same time, because there are levels to just how in-depth you can get with a home car washing setup. This article is the first in our series on how to properly clean your car at home, and covers all of the bare essentials you’ll need to get started. Anyone can wash their car safely and effectively without scratching or marring the paint by using what’s provided in this guide. If you’d like to see all of the items we recommend, click here.
Alternatively, here are links to all of the products in the kit:
- P&S Pearl Auto Shampoo
- P&S Brake Buster Wheel & Tire Cleaner
- 5 Gallon Bucket
- Grit Guard
- CarPro EliXir Quick Detailer
- Rag Company Gauntlet Drying Towel
- All Purpose 16"x16" Blue Microfiber Towel
- Microfiber Wash Mitt
- EZ Detail Wheel Brush
- Wheel Face Brush
Understanding the items in the Basic Wash Kit:
It's important that you understand why you’re purchasing something, so let’s go through every item on the list, and explain why we picked it. Also, nothing that you buy from this list will need to be replaced when you move on to more advanced equipment, everything that we’ve picked and tested for this article can stay with you even when you step things up.

Buckets & Grit Guards: Every quality wash starts with a bucket. For this kit, we’ve gone with 5 gallon red and blue buckets. Red for dirty water, blue for clean. We’ve also added blue and red grit guards to each bucket. The purpose of the grit guard is to keep your wash mitt from ever touching the bottom of the bucket, which is where the dirt and contaminants you take off your paint settle. It also stops the water from forming a vortex, and kicking back up that same contamination when you go to rinse off your wash mitt again.

Soap: Just like there are seemingly endless choices of shampoo for your hair, there are similarly endless choices of soap for your car. What's the difference? It mainly comes down to whether or not the soap is just that, plain soap, or whether it has additives like gloss enhancers, waxes or even degreasers that can strip wax (think Dawn). We prefer plain ol’ soap, mainly because soaps with gloss enhancers or additives can leave residues behind upon rinsing, and since we plan on adding protection later on, there’s no need to do it during the wash. We’ve picked P&S Pearl Auto Shampoo because it’s a no-nonsense, effective auto shampoo that is also extremely cost effective. It also is pH neutral, so it won’t strip your wax or sealant and is easy on the hands.
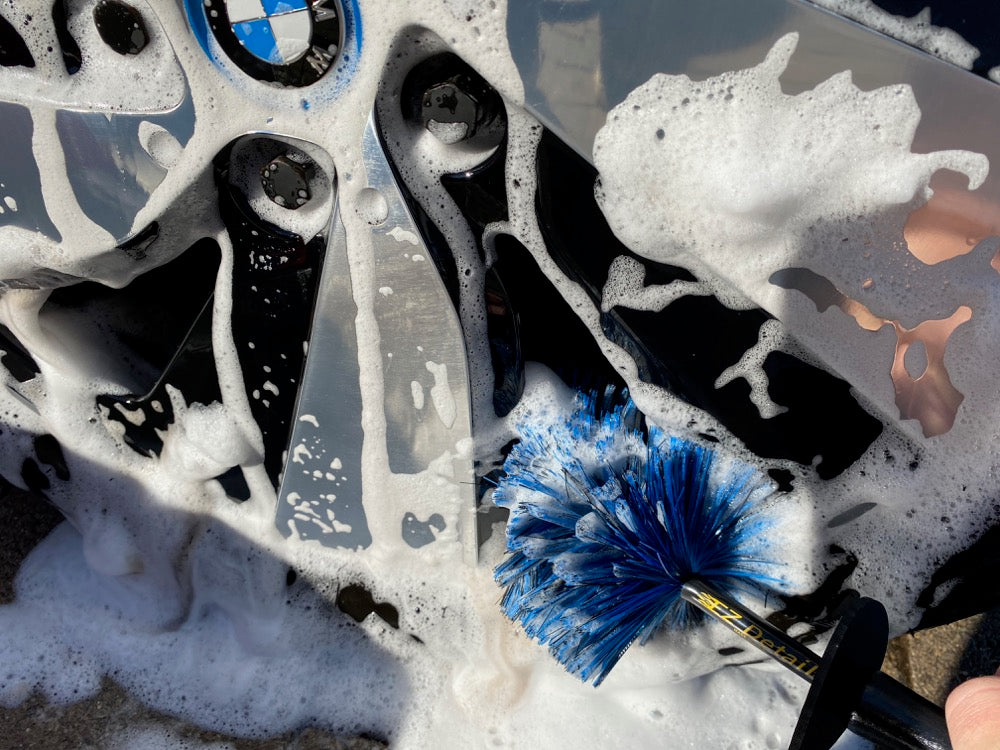
Wheel Cleaning: Wheels come in all different styles, some more difficult to clean than others. Our recommendations for wheel cleaning are meant to work across the most different wheel options possible, starting with our tools. To clean the faces, we recommend using a Wheel Face Brush, it has 2” long soft bristles that won’t scratch the finish of your wheel, as well as rubber bumpers around the head of the brush so that you don’t need to worry about hitting other parts of the spoke while cleaning. For the barrel, we recommend the EZ-Detail brush, which has nylon bristles that compress easily to fit through tight spokes to reach the barrel of your wheel easily, or get behind tough to clean areas like brake calipers. For chemical, we recommend P&S Brake Buster because of its safe and effective ingredients. Brake Buster is a non-acid wheel cleaner, making it much safer for all types of wheel finishes. It also is an effective tire cleaner, meaning you can combine the wheel and tire cleaning steps to save mine and money on chemicals. Acid based wheel cleaners, in general, would only be necessary if you haven’t kept up with wheel cleaning and need to remove a good amount of embedded brake dust. If you are keeping up with cleaning, there should be no need for them.

Microfiber: Microfiber towels are one of the most versatile tools in detailing, with so many different varieties to choose from, it can be hard to know what you need for different tasks, high pile or low pile, plush or firm, the list goes on and on. We’ve boiled it down to 3 things that you need to get started. The first item is a quality microfiber wash mitt. We like microfiber mitts because they don’t scratch, and release dirt and grime easily when you rinse them off. For drying, we recommend The Gauntlet from The Rag Company. The Gauntlet can absorb an incredible amount of water, and helps you dry the vehicle quickly and without scratching. Lastly, we recommend our blue 16”x16” microfibers for your general purpose towel. Like the name suggests, this can be used for anything, whether its an interior wipedown, a final wipe on your wheels, or for applying your favorite sealant or wax.
Gloss: We all love the way our cars look when we finish washing them, and adding that little bit of extra pop just brings it home. Quick Detailers, while not long lasting, offer extra shine and some added protection in between washes. We recommend CarPro EliXir for a quick detailer, because it’s easy to apply and leaves behind a shine that would make any car guy or girl happy. It also leaves a little bit of silica-based protection behind as well to help protect your car from the elements and make washing just a little bit easier.
How to wash your car using the Basic Wash Kit:
Now that you have everything you need, it’s time to start washing. Pick a shady spot or do this during the early morning or evening for best results. Before you start, you’ll need to put the grit guards inside their respective buckets. Begin by placing a few ounces of soap into the blue bucket, and then filling the bucket with water. You should see a frothy mix bubble up while you fill. Next, fill the red bucket with clean water. (Yup, I had it backwards in the picture)

We recommend cleaning your wheels first, so start by rinsing the wheel, and then spray it down with the P&S Brake Buster. After waiting 30 seconds or so for it to dwell, you can begin to clean the wheel using the two different brushes. Repeat this process for all 4 wheels.
After wheel cleaning, it’s time to start washing the vehicle by rinsing the car thoroughly. We want to remove as much loose dirt and contamination as possible to help prevent scratching and marring. After a thorough rinse, dip your mitt into the soap bucket, and start by washing the upper parts of the vehicle first, one panel at a time, flipping to the other side of the mitt when you move to another panel. Rinse the mitt in the red bucket after both sides have been used, once clean, you can return to washing the next 2 panels. Do not move the mitt in circular motions, always go in straight lines. We recommend cleaning the lowermost parts of the car last, as they are likely to have the most stuck on dirt and contamination. Do not start on a lower portion of the vehicle and move upwards, you are just bringing heavy contamination upwards, and introducing a risk of scratching.

Once you’ve made it around the entire vehicle, you are ready to rinse again. After thoroughly rinsing to remove any leftover soap, take your gauntlet drying towel and lay it out flat on the top of the roof and simply pull towards you to absorb all the standing water. Similarly to washing, we recommend working your way from the top down when drying. Repeat these steps with the drying towel for all flat panels.

On side panels like doors, you can use the towel as normal, while making sure to avoid moving it in circular motions. Once the car is completely dry, it’s time to add gloss. This guide assumes you are already using a wax or sealant of some sort, the quick detailer we recommend here is just to top that. Take the CarPro EliXir and two of the all purpose blue towels, mist EliXir onto a panel, covering it lightly with the product, then use one towel to buff it into the paint, and the second to buff dry, leaving you with a streak free shine. EliXir is safe on all surfaces, and can be used on glass, plastics, and wheels. A little goes a long way.

If you have any questions about products, process, or detailing related advice, leave us a comment below and we’ll help you out! Stay tuned for part two of this article, where we delve into pressure washing, drying with a blower, and more advanced products and techniques. Here's some photos of the i3 after it was completed:

